
Tech pack for garment manufacturing: specs and fit details

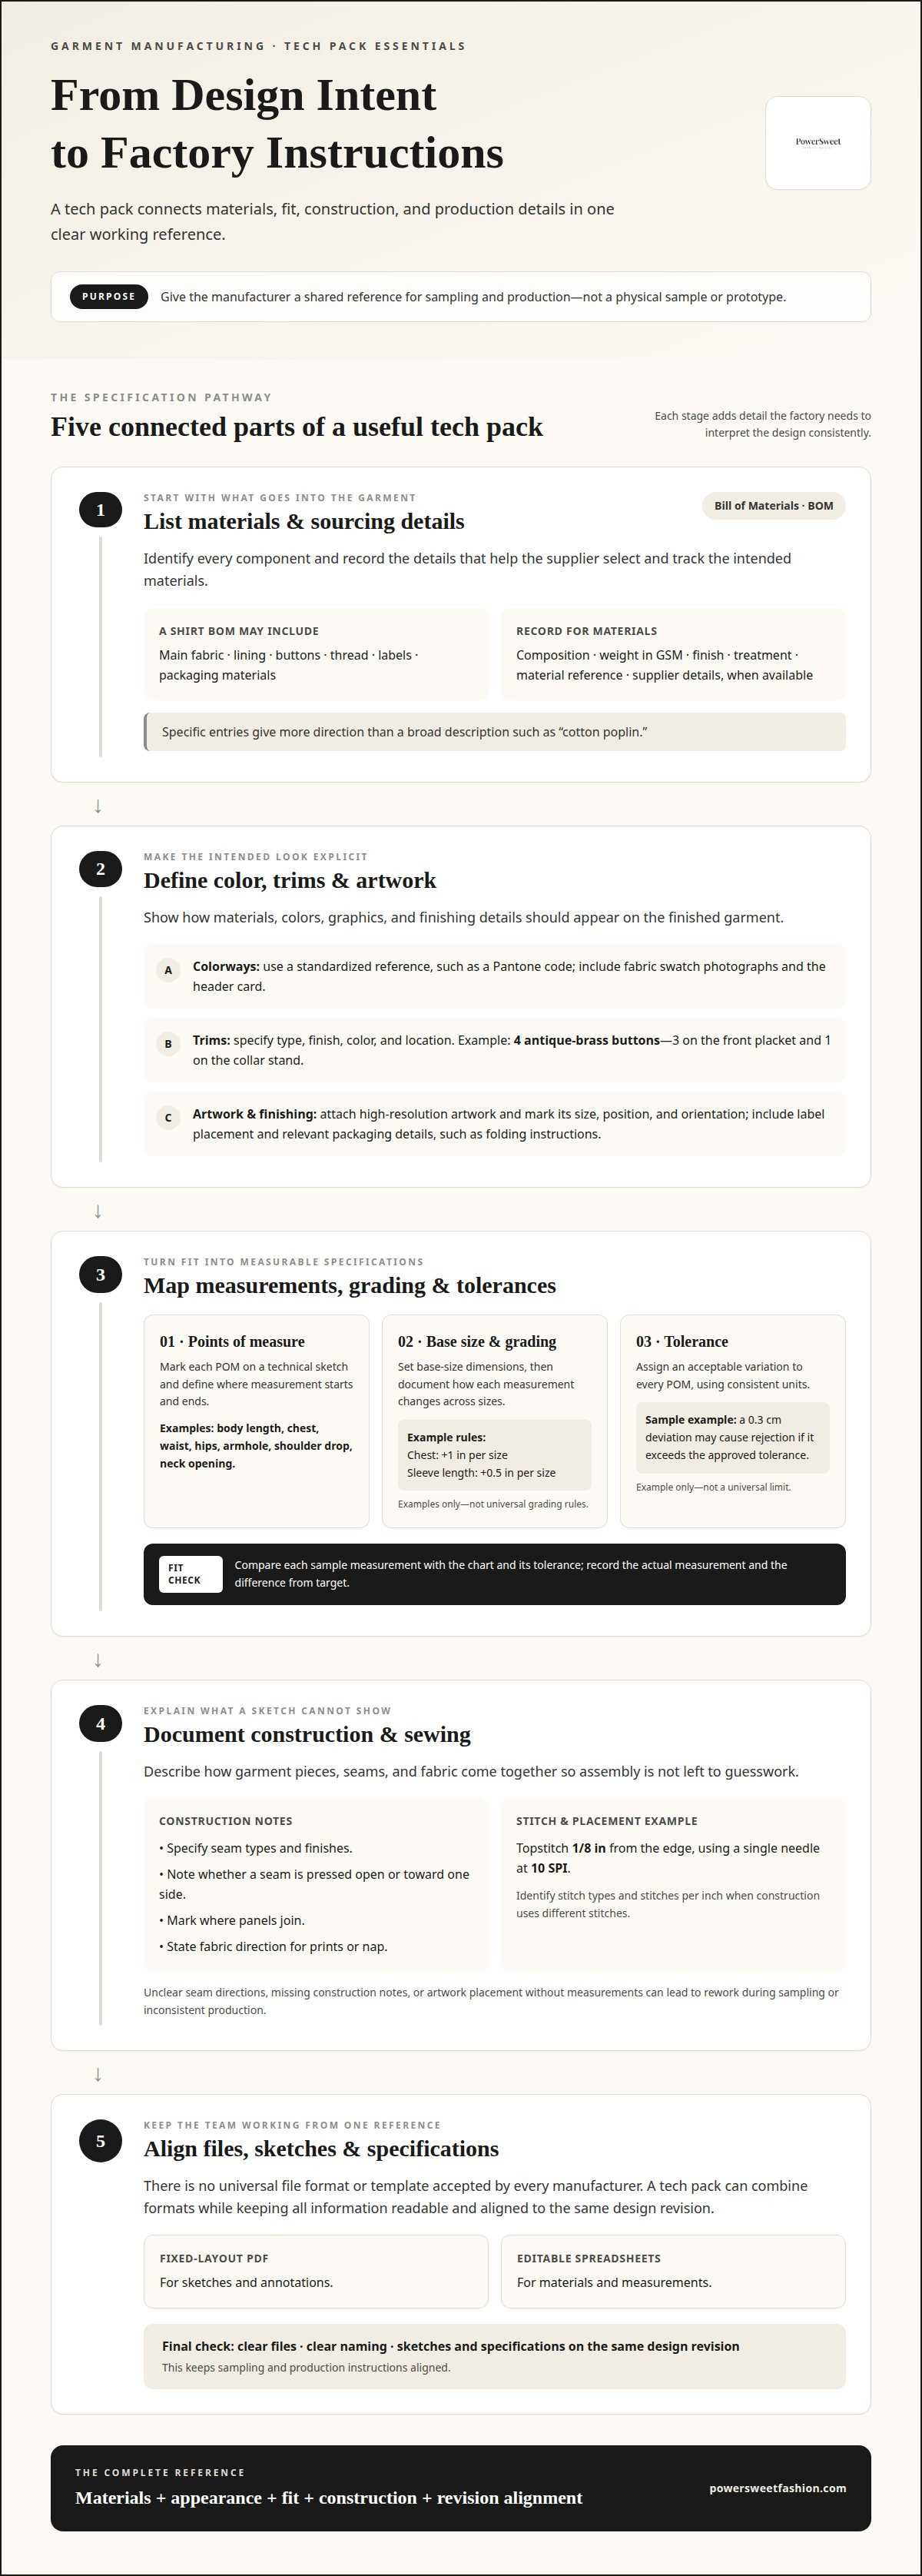
A garment’s fit depends on the specifications sent to the factory. A tech pack for garment manufacturing brings the design, materials, construction details, measurements, grading rules, and tolerances into one working document. It gives the manufacturer a clear reference for sampling and production, but it is not a physical sample or prototype.
Documenting every detail can feel demanding, especially when a design must fit across sizes and stay consistent from sample to finished garment. This guide explains what to include in a garment tech pack and how its specifications turn a design into practical manufacturing instructions.
You’ll see how points of measurement, a base size, grading rules, and tolerances work together to define fit. We’ll also cover how technical sketches, materials, and construction notes support manufacturing, and why clear, current specifications help everyone work from the same version of the design.
Table of Contents
What are tech packs used for?
A tech pack for garment manufacturing turns a clothing design into organized instructions for sampling and production. Its bill of materials links each component to its specifications and sourcing details.
Bill of Materials and Sourcing
A bill of materials (BOM) lists the components needed to make a garment and the details that help identify and source them. It helps the manufacturer select the intended materials rather than interpret a broad design description.
For a shirt, the BOM might list the main fabric, lining, buttons, thread, labels, and packaging materials. Record fabric composition, weight in GSM, finish, and treatment, as well as each trim’s type, color, and placement. Add material references and supplier details when available, so selections can be tracked from sampling through production. A fabric requirement chart can also capture pattern details. Specific entries matter: “cotton poplin” alone gives less direction than a composition, weight, finish, and material reference. The BOM makes these sourcing choices part of the production record.
Fabric, Trims, Colorways, and Artwork
These specifications define how materials, colors, and graphics should appear on the finished garment. Clear entries help preserve the design intent throughout production.
List each colorway with a standardized reference, such as a Pantone code, and include fabric swatch photographs and the header card. Identify trims by type, finish, color, and location. For example, a shirt BOM could specify four antique-brass buttons: three on the front placket and one on the collar stand. Attach high-resolution artwork and mark its size, position, and orientation on a garment view. Include label placement and any relevant packaging details, such as folding instructions.
There is no universal file format or template accepted by every clothing manufacturer. A tech pack for garment manufacturing can combine a fixed-layout PDF for sketches and annotations with editable spreadsheet tables for materials and measurements. Keep the files readable, clearly named, and aligned to the same design revision so the manufacturer can use them as one reference.
Graded specifications, points of measurement, and tolerances
A measurement specification records finished-garment dimensions, grading rules, and acceptable variation. Together, these details give the manufacturer a practical blueprint for assessing fit across sizes.
Garment Measurement Specifications
Each point of measurement (POM) identifies a garment location and the dimension recorded there. A specification might include body length, chest, waist, hips, armhole, shoulder drop, and neck opening.
Define the start and end of each measurement, then mark the point on a technical sketch. For example, specify the method and position for measuring the chest so different people do not measure different areas. Use consistent units and identify the garment size being measured. Clear definitions let the manufacturer compare a sample with the intended fit rather than relying on visual judgment alone.
Graded Sizing and Measurement Charts
A measurement chart sets the dimensions for a base size, while grading rules explain how those measurements change across other sizes. This gives each size a defined fit profile instead of simply enlarging the base garment.
For example, one grading rule increases chest measurement by 1 in per size and sleeve length by 0.5 in per size. These values are examples, not universal rules. A grade rule can vary by garment element and design; a sleeve may change differently from a body circumference. Document the base-size measurements and each intended increment in the same chart. This makes the sizing logic visible and helps identify inconsistent steps between adjacent sizes.
Measurement Tolerances
A tolerance defines how far a finished measurement may vary from its specification. Assign a tolerance to every POM so each dimension has a clear acceptance range during sample review and production checks.
Set tolerances according to the measurement and its fit impact. A small difference at a critical location can matter more than the same variation elsewhere. For example, a 0.3 cm deviation may cause sample rejection when it exceeds the approved tolerance. That figure is an example, not a universal limit. State the permitted variation beside each measurement, and use the same units throughout the document.
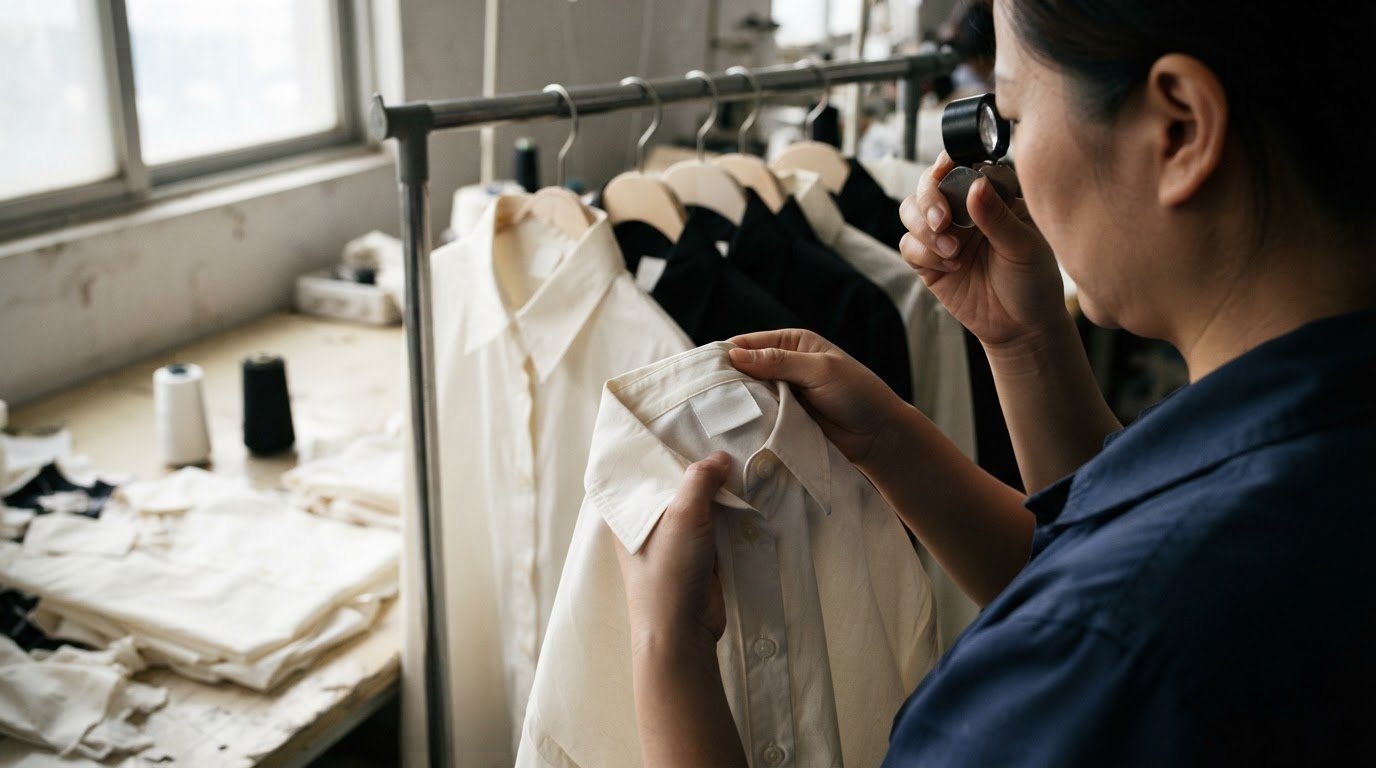
When reviewing a sample, compare each measured point with the chart and its tolerance. Record the actual measurement and any difference from the target. This helps distinguish an isolated production error from a grading issue that affects several sizes.
WHAT IS A TECH-PACK?
A tech pack turns a garment concept into instructions for sampling and production. Construction notes explain how the garment should be assembled, beyond what its appearance alone can show.
Construction and Sewing Instructions
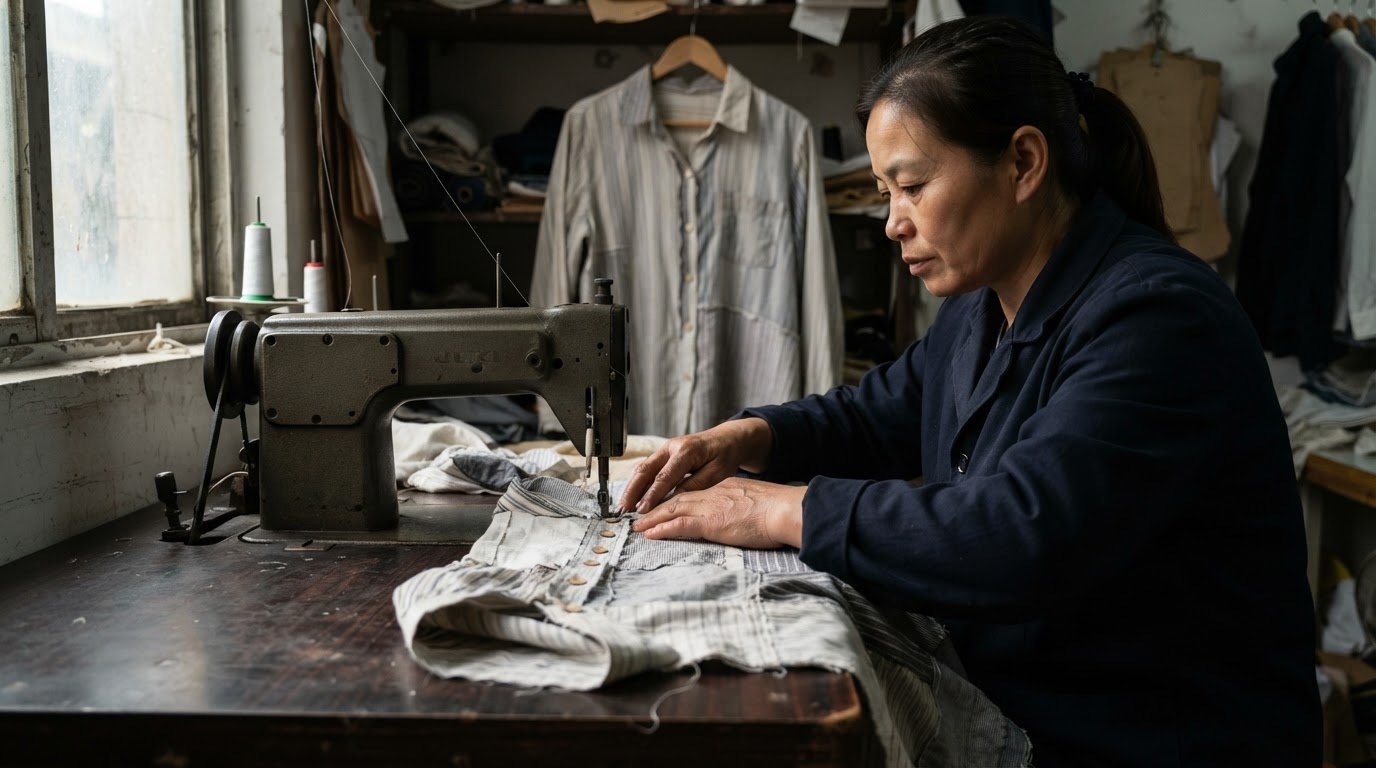
Construction instructions describe how garment pieces, seams, and fabric come together. They matter because a sketch alone cannot communicate every sewing decision to the manufacturer.
Specify seam types, finishes, and assembly details wherever they affect the garment. For example, note whether a seam is pressed open or toward one side, and mark where panels join. Describe fabric placement for directional prints or nap so the pieces keep the intended orientation. Common gaps include unclear seam directions, missing construction notes, and artwork placement without measurements. These omissions can lead to rework during sampling or inconsistent production.
Stitches, Trims, and Placement
Stitch and trim notes define how visible sewing and added components should look on the finished garment. Placement and stitch choices matter because they affect both construction and the final design.
Identify stitch types and stitches per inch when construction uses different stitches. For example, an instruction can specify topstitching 1/8 in from the edge, using a single needle at 10 SPI. Use an annotated sketch to locate the stitch line. Mark trim placement against a clear garment reference, such as a seam or edge, and describe its orientation. This gives the production team a specific instruction instead of relying on a visual guess.
Tech Packs and Spec Sheets
A garment spec sheet focuses on measurements and tolerances. A tech pack brings those specifications together with drawings, materials, construction, and production notes. The distinction matters because a measurement chart alone does not describe every detail needed to make the garment.
For example, a spec sheet can show the target sleeve length, while the broader pack shows sleeve construction and stitch details. In the United States, tech-pack cost depends on design complexity and scope; pricing is provided after a quote request. Clear, consistent documents help brands communicate the design through sampling and production.
Tech pack design and development process
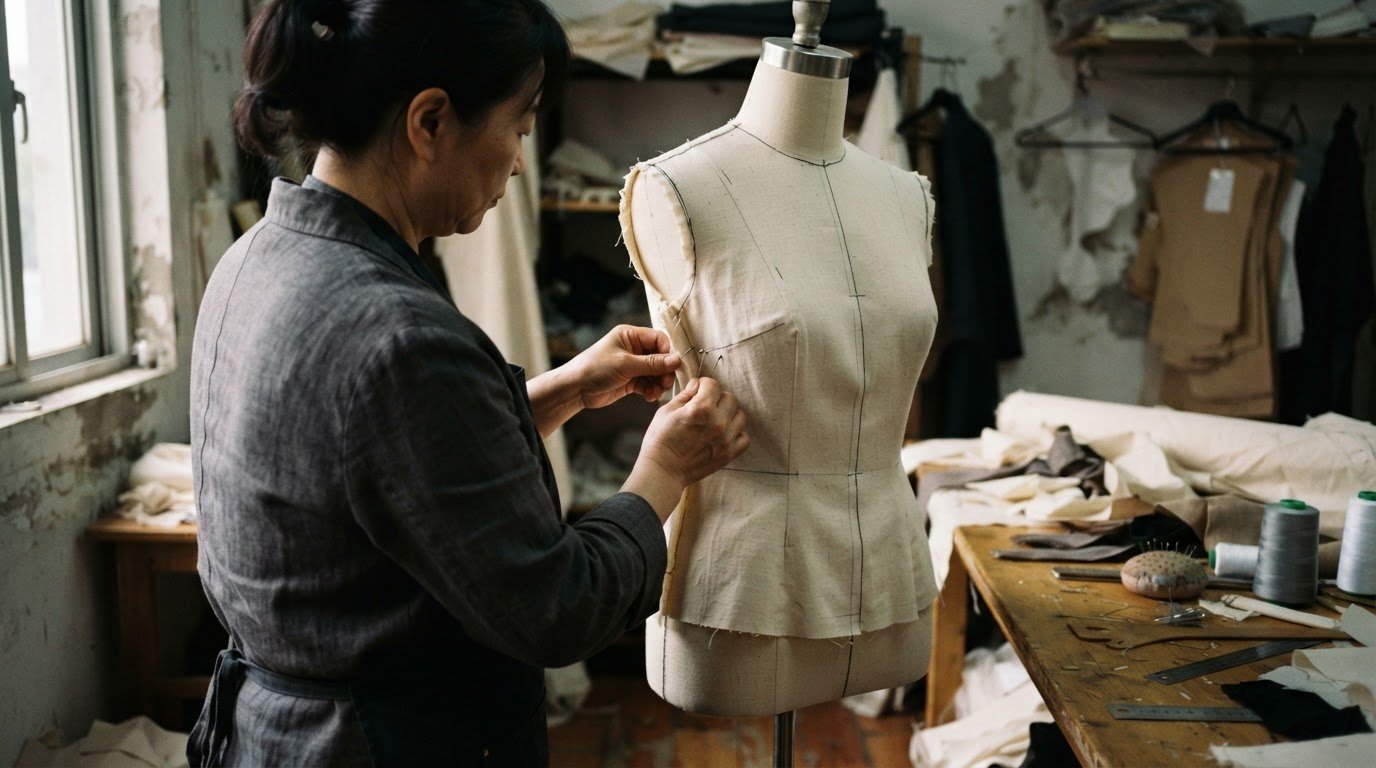
Build tech packs around the garment’s actual design rather than relying on a generic template. A clear process connects the concept, sketches, measurements, materials, and manufacturer feedback in one usable reference.
Start with the design concept and garment type. Create technical sketches of the front and back, adding side or interior views when they clarify construction. For example, a jacket may need an interior view to show its lining and pocket placement. Annotate each view so the manufacturer can link visual details to written instructions.
Organize the document into sections that match production needs. A practical structure includes a style overview, sketches, a bill of materials, a spec sheet, construction details, and colorway information. Adapt the template to the garment: a lined dress needs different construction references from a simple top. Keep related details together, and make each instruction easy to trace to a sketch or measurement point.
Before sending the pack to a manufacturer, compare the sketches, BOM, and spec sheet for conflicts. If a sketch shows a trim that is missing from the materials section, resolve the mismatch before sampling. Make sure the pack reflects the current design, as outdated instructions can direct the factory to an earlier version.
Revise and approve the pack collaboratively: the brand and garment manufacturer review the same version, mark unclear or incorrect details, and update the relevant sections. Record a revision identifier and date, such as 2025-09-15, then circulate the updated file before production. Approval should apply to the complete, coordinated document, not one isolated section.
When a sample reveals a design change, update the sketches, measurements, and affected instructions together. Keep the approved version distinct from drafts, so production teams can identify the correct reference. For support translating a design into a physical sample, discuss your sample development needs.
PowerSweet Fashion
PowerSweet Fashion helps turn garment specifications into a clear path from design to finished clothing. When measurements, materials, or construction details need to move into sampling and production, coordinated manufacturing support connects those decisions with how the garment is made.
Custom women’s clothing production brings an approved design into manufacturing, while sample development translates specifications into a physical garment. Fabric sourcing supports material selection, and quality control services assess garments against defined requirements. These services are useful when you’re ready to move beyond the document and develop a production-ready women’s clothing design.
A clear tech pack remains the working reference throughout the process. Contact PowerSweet Fashion to discuss your garment project.
Move Your Design Toward Production
A strong tech pack for garment manufacturing is more than a file to complete and set aside. Treat it as a shared working reference that evolves with the design and records decisions clearly at each production stage. When a sample reveals a change, update the approved document before the next handoff. This keeps the design intent connected to the garment taking shape.
Your next step can be a focused review of what is ready and what still needs development. Identify open decisions about construction, materials, or fit, then determine what needs resolving before sampling. A manufacturing partner can connect those design decisions with the practical work of developing and producing clothing.
PowerSweet Fashion supports brands with custom women’s clothing production, sample development, and fabric sourcing. Contact PowerSweet Fashion to discuss your tech pack and the next step for your design. Your concept can move forward with a clearer path from specification to garment.
Frequently Asked Questions
Do I need to have artworks, sketches or technical drawings in place?
Technical sketches are useful, but they can be developed from an existing design concept. Include clear garment views and annotations so a manufacturer can identify details such as panel shapes, closures, or pocket positions. If the design uses a print or logo, provide a high-resolution artwork file and show its intended location. A physical mockup can also clarify features that are difficult to communicate visually.
What is a garment tech pack and what is it used for?
A garment tech pack is a technical reference that explains how a design should be made. The manufacturer can use the finalized document to develop a sample, then refer to it during production and quality checks. For example, if a finished garment’s pocket appears differently positioned from the approved design, the pack gives the team a shared reference for reviewing that detail.
What should a complete clothing tech pack include?
A complete pack brings together the information needed to interpret and make one garment style: technical drawings, materials, color options, artwork, construction instructions, and measurements. It can also record label positions, packaging requirements, and revision details. Organize the information by section, using visual callouts linked to written notes. This makes it easier to find the relevant instruction without searching unrelated design details.
How do you create a garment tech pack step by step?
Begin by defining the design and gathering reference images, material choices, and intended variations. Develop technical views, then add construction notes and a measurement specification. Assemble the details into sections, check for conflicts, and share the current version for review. For example, confirm that a colorway shown in an illustration also appears in the materials information before approving the pack for sampling.
What measurements and size specifications should a tech pack include?
Include the garment’s key points of measurement and define how each is taken. A fitted dress may need chest, waist, hip, and body-length measurements, while sleeve dimensions matter for a long-sleeved style. Set out a base size and grading changes for the intended size range. If a fit reference is available, add garment dimensions to help communicate the intended shape.
How do you write garment construction and sewing instructions for manufacturers?
Write instructions as specific actions tied to a garment location or drawing. Name the seam or stitch, show where it applies, and describe any finish or assembly direction that affects the result. If a style uses different stitch types, identify each type and its stitches per inch. For example, annotate a sleeve sketch to show which seam joins the sleeve to the body and where its finish should sit.
Comments